
Watermark
PRO Free: batch apply and presets are not available.
Add a watermark to a photo using text, an image, or drawing.
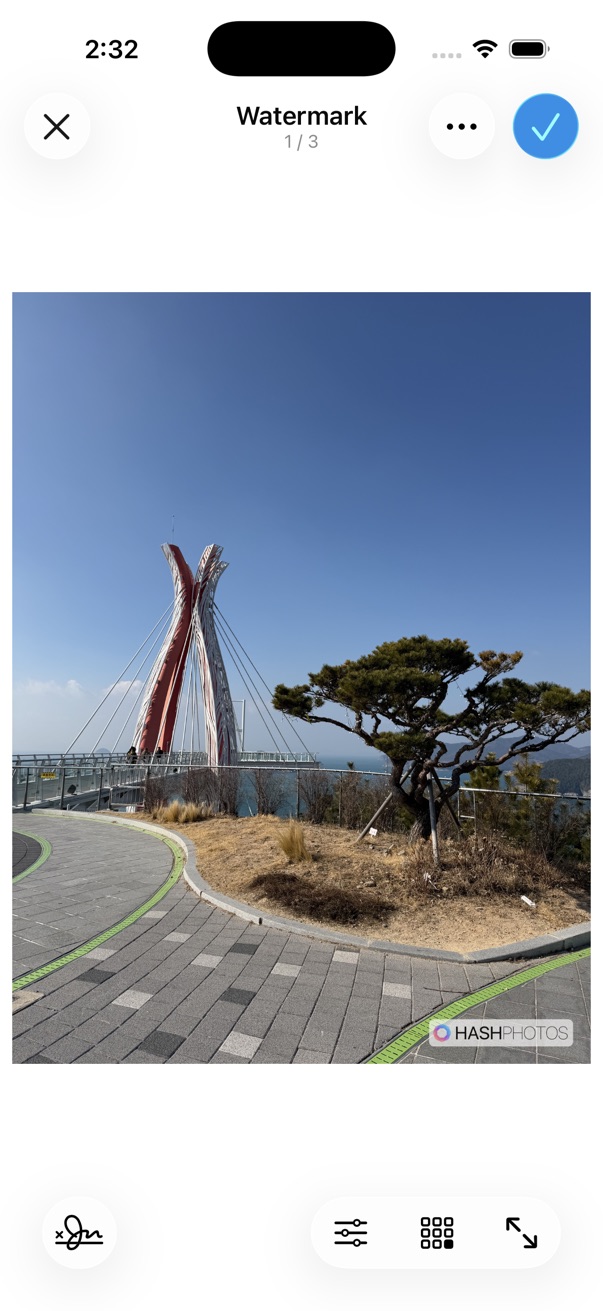
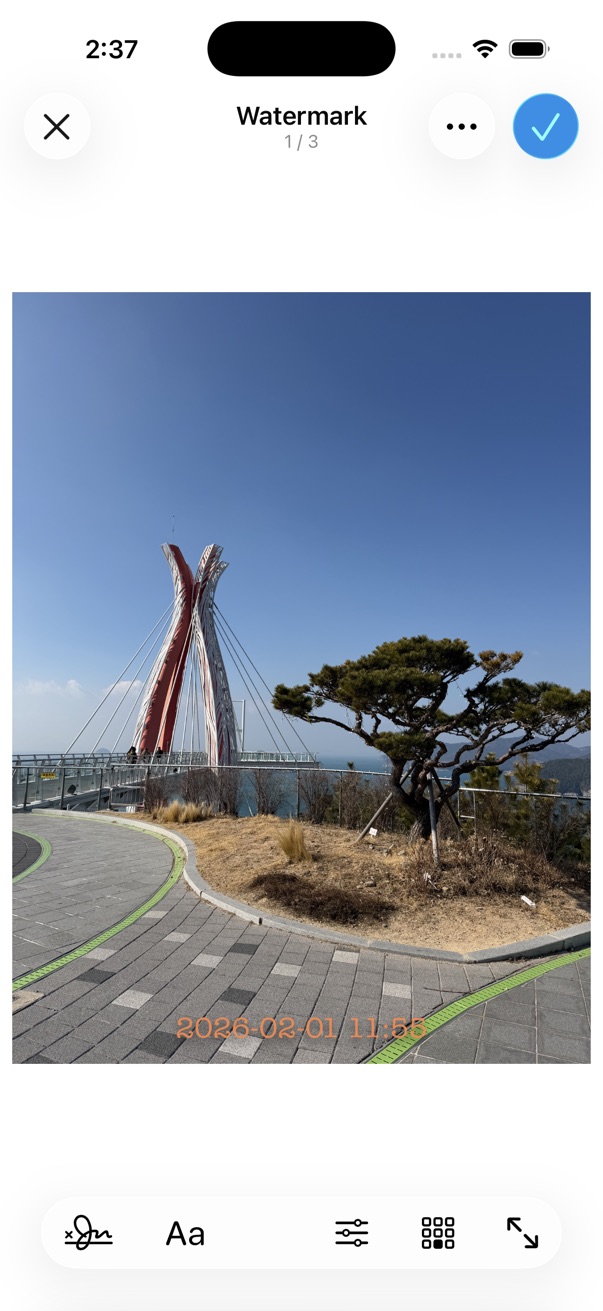
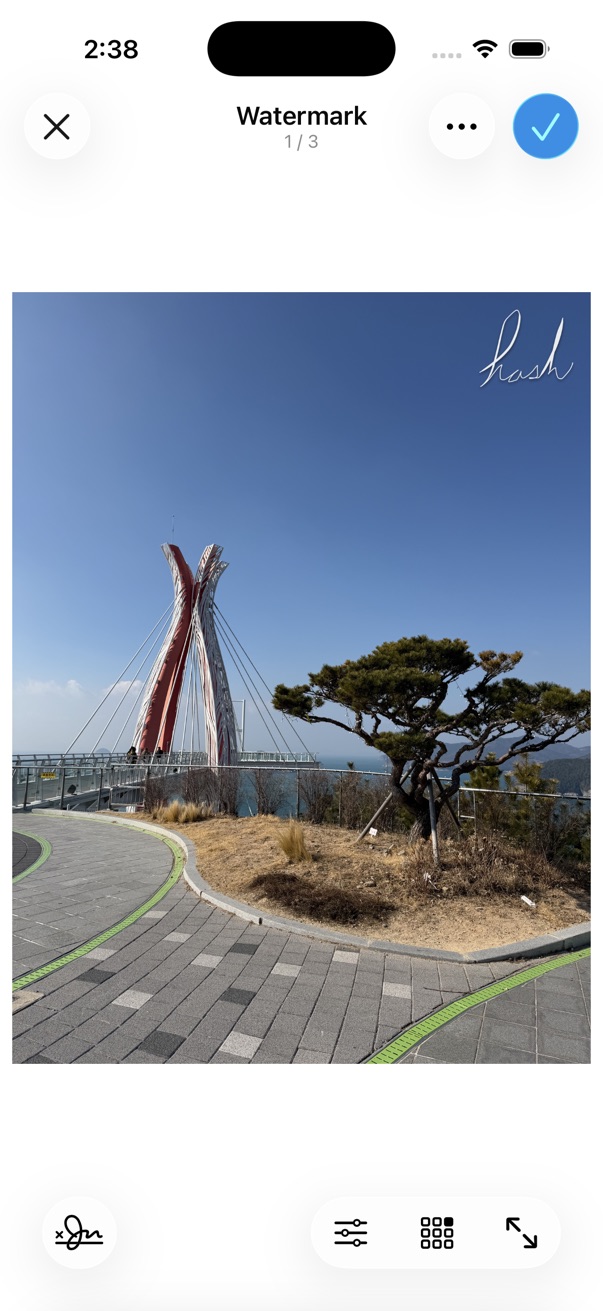
- Open a photo in the viewer, or select photos in the thumbnails screen.
- Tap the on the bottom toolbar.
- Tap Edit > Watermark.
Edit a Watermark
- Choose a watermark type:
- Text — add text as a watermark
- Image — use an image as a watermark
- Drawing — draw a watermark by hand
- Presets — apply a saved watermark preset
- Adjust position, style, and size.
- Tap Done to save.
The watermarked photo is saved as a new image. Metadata from the original is removed.
Presets
Save a watermark as a preset, then choose it later to apply the same watermark quickly.
Save a Preset
- In the watermark editor, tap the … button at the top.
- Tap Save as Preset.
- Enter a preset name and save.
Apply a Preset
Saved presets appear in the Watermark menu so you can select them directly.
Edit a Preset
- In the watermark editor, tap the watermark style button at the bottom left of the toolbar.
- Choose a preset, then change the options as needed.
- Tap the … button at the top, then tap Save to update the preset, or Save as Preset to save it under a new name.
Manage Presets
- In the watermark editor, tap the … button at the top.
- Tap Manage Presets.
- Rename, delete, or reorder presets as needed.